How to Run Your React App?

What is React JS?
React is an open-source JavaScript library. It is being used for building user interface components for websites. It is in more common domains, used for building Single-Page web applications. Building web pages using react allows us to make changes to the current web page without having to refresh it.
The web app I am using right now for writing this article is Notion.so which is also a React web app embedded in a native shell ( meaning during it's startup time most of its components get loaded on the page, which is convenient! ).
How to set up a React project?
Now there are many ways to go about this as there are many different react frameworks we can work with depending on our project. But for learners getting into React we are going to discuss the following two methods :
- By using Create-React-App
- Adding to
<script>Tag in our HTML page.
For reference, the other ways to build a react app include :
- Next.js :
This is also one of the easier frameworks one can get started with to get into React. It is the preferred framework used to create both static and server-based applications. Just running it up gives us some basic styling for our webpage.
- Gatsby :
This is the prime framework that can help us create static websites really fast. This framework outputs pre-rendered(which means it preloads all the design elements for the page) HTML and CSS components and makes it load as fast as possible.
- Razzle :
This framework is also used for creating server-rendered web applications and skips all the configuration needs.
- Nwb :
Nwb is another beginner-friendly framework used for building as it requires zero configuration steps setup. It can be used for publishing React components for Node Package Manager and also for creating robust production-ready websites.
1. Setting up using create-react-app :
This is the more simple and faster option as we do not need to learn all about the different configuration steps that take a lot of time and it also optimizes our development application.
Prerequisites :
- Node.js installed on machine along with NXM ( Node Version Manager )
Step 1: Creating the App
We can use either npx, npm or yarn for creating the app. Open the command prompt and execute any of the three following commands :
$ npm create-react-app your-app-name
$ npm init react-app your-app-name
$ npm create react-app your-app
When any of these commands are complete we get a new React application in a directory called your-app-name .
Step 2 : Running the Application
This involves two simple steps :
- Navigate to
your-app-nameproject directory :
$ cd your-app-name
- Then we start the react app with the following npm command :
$ npm start
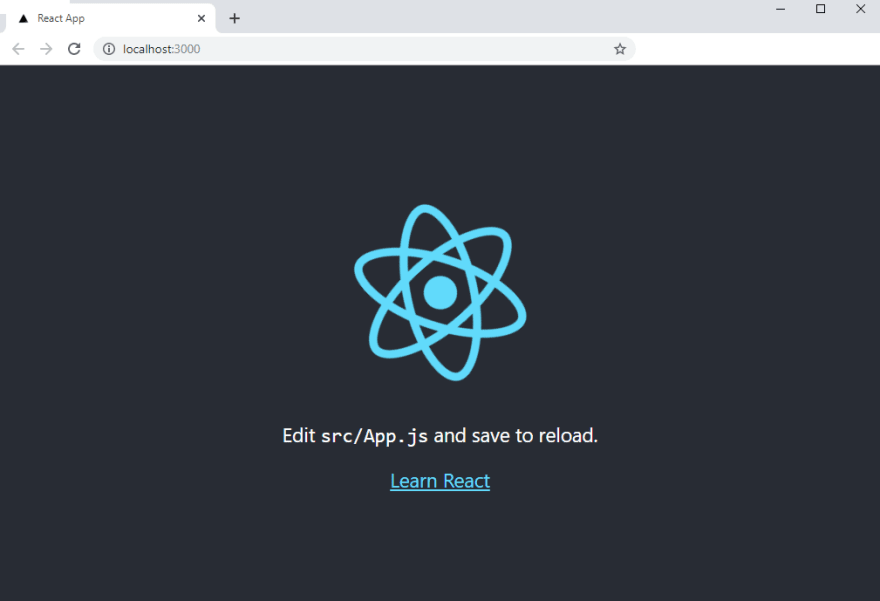
This creates and starts your app in the following URL https://localhost:3000 in your web browser!
2. React App creation by adding to <script> Tag in our HTML page.
In this case, we add the react app to an existing HTML page that we created by adding a <script> tag section for our react component links. For this method, we need to code a bit of JavaScript and add HTML elements wherever required.
Let us go through this step-by-step :
Step 1: Add an empty div tag
In your required HTML page :
<!-- HTML PAGE COMPONENTS -->
<div id="react-component-container"></div>
<!-- HTML PAGE COMPONENTS -->
We add a unique id tag for our React components for accessibility when we call the components using JavaScript.
Step 2 : <script> Tags
In order to pull react into our web page we use three <script> tags before </body> tag in the HTML page of our project :
<!-- HTML PAGE COMPONENTS -->

<script src="https://unpkg.com/react@16/umd/react.development.js" crossorigin></script>
<script src="https://unpkg.com/react-dom@16/umd/react-dom.development.js" crossorigin></script>
<script src="react-component.js"></script>
</body>
We use the first two script links to load react from a Content Delivery Network(CDN) and the third one will load our React Component.
Step 3: React Component
Now we create a new JavaScript file in our project directory ( which contains the HTML page )
$ touch react-component.js
Then we code the following :
"use strict"

const x = React.createElement

class Your_component extends React.Component {
    render() {
         return x(
                "h1",
                null,
                "Your React Component",
     )
}
}
const domContainer = document.querySelector("#react-component-container")
ReactDOM.render(x(Your_component), domContainer)
Your_component class creates an HTML element using React.
Using the bottom two lines of code outside the class we find the <div> we created with "react-component-container" as id in Step 1 and displays it in our HTML page.
And that is it! We have our react app up and running. Run the HTML page in your web browser. Now we can add our desired functionalities to it.
Conclusion
This was a quick article assignment that I was given for a content writing internship that I participated in out of nowhere and thankfully got selected. In this article, we have discussed two learner-friendly ways to get started with React and also given a brief overview of some other frameworks that are useful in accordance with our project requirements. Do comment out your doubts if any and provide you valuable feedback with updates and improvements in the comments. Thank you.


